HOLIDAY NAILS | DIY
I love finding a good excuses to sit down and do a little at home manicure. I find it super relaxing, maybe it's that fact that I shut myself in my room, put on some Netflix and light a great smelling candle... I guess whatever the reason is ill stick to it
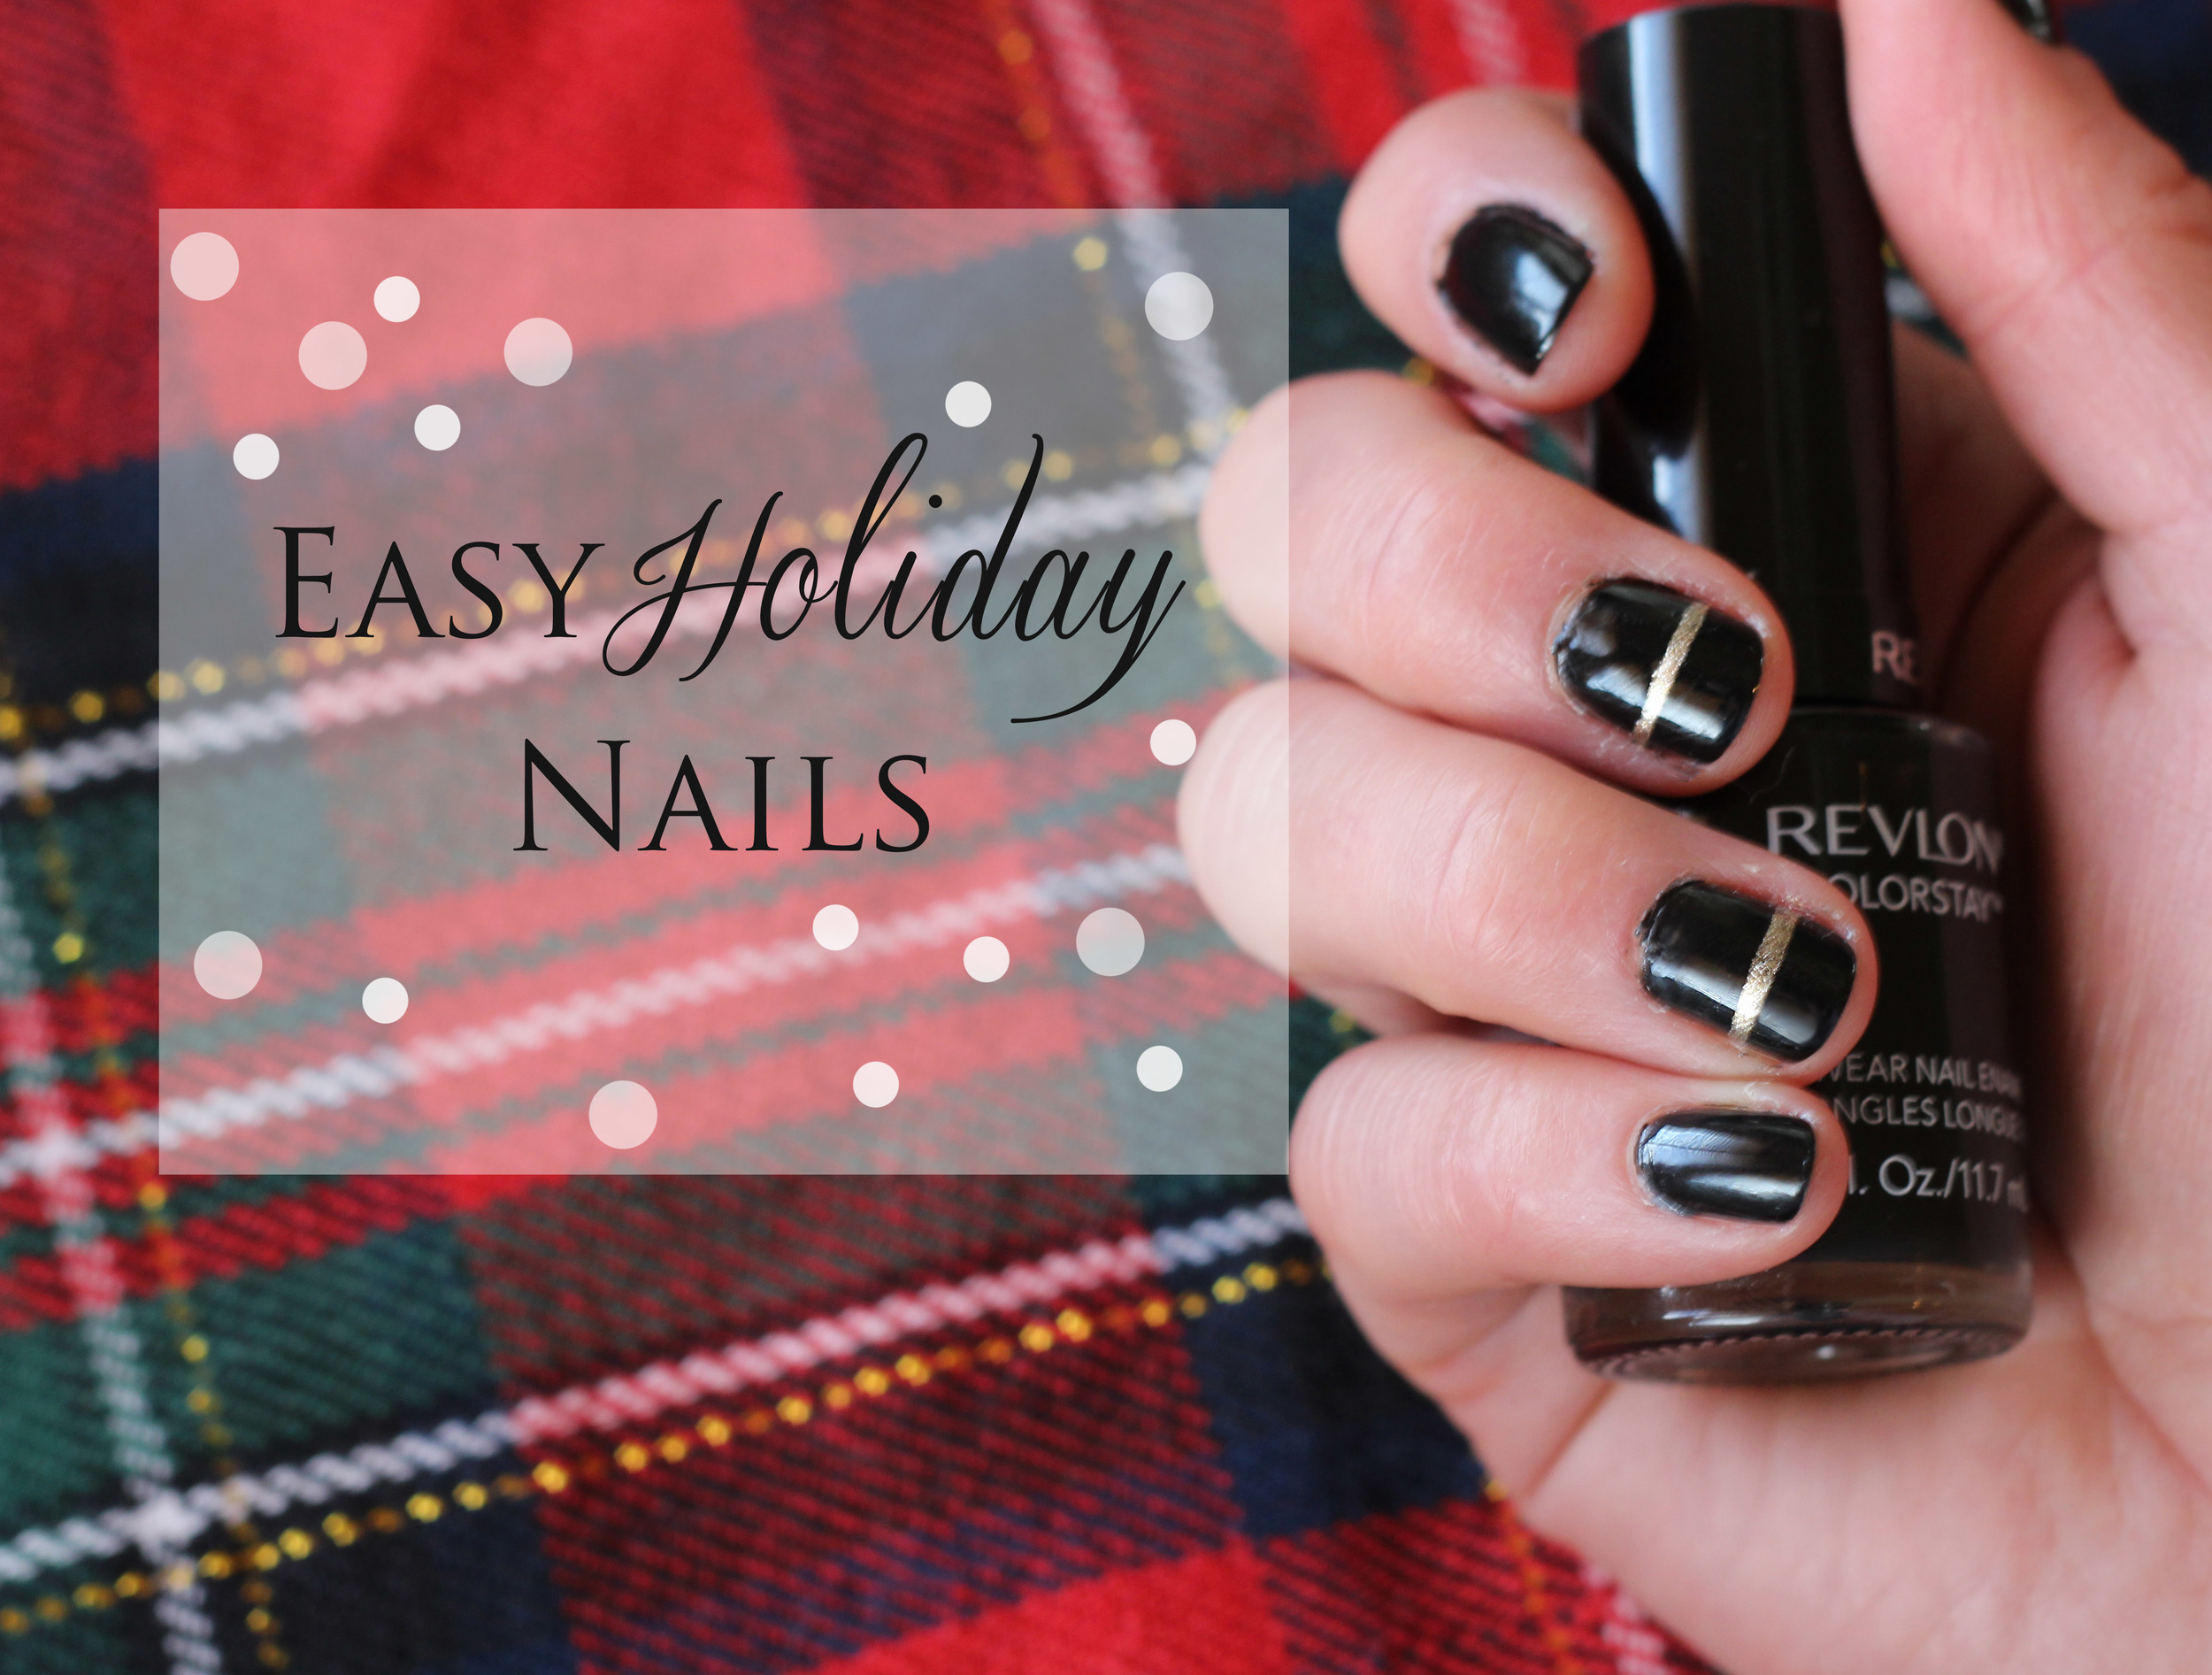
In honor of the holidays and all the parties we all should be attending I grabbed my favorite winter combo, gold sparkles and black. Both of these colors I found at Target for a very reasonable price. They go on really well and last for quite a while (especially if you finish your nails with a clear coat)
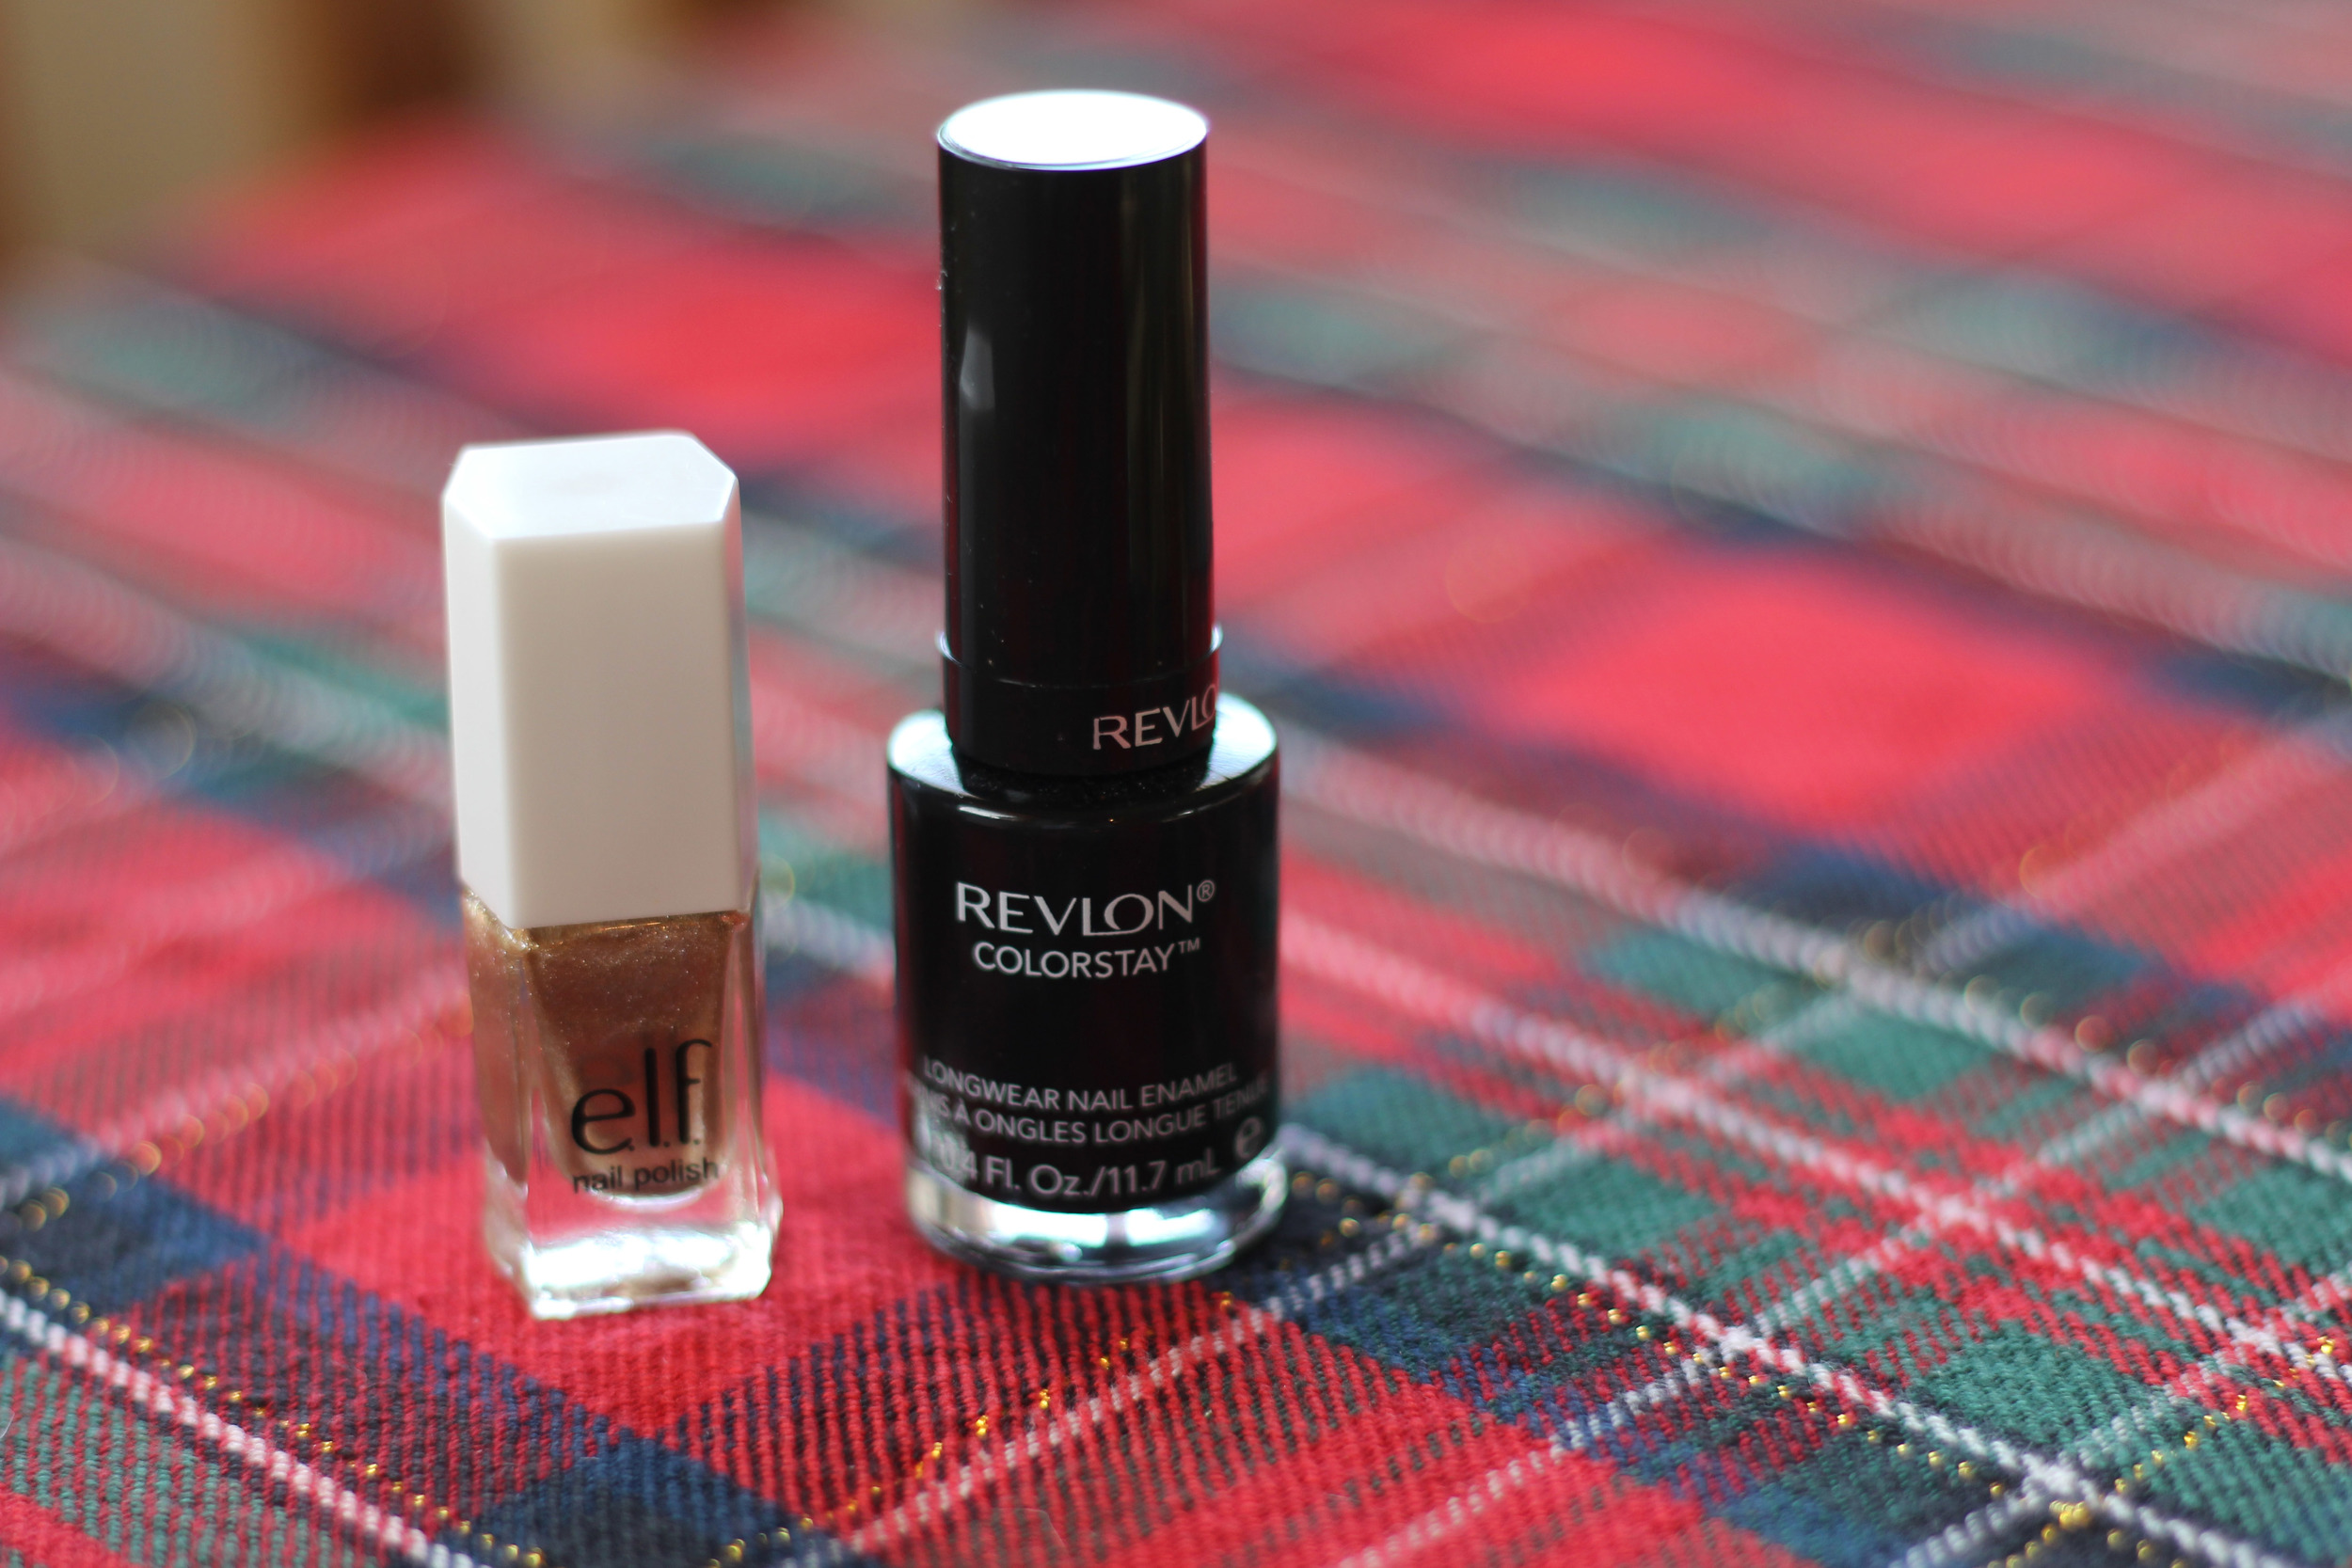
To accomplish this design all you need is:
- two different polish colors (I chose my black Revlon polish with gold shimmer Elf)
- tape
Steps:
- start with clean nails
- apply 2 coats of your base color (allow to dry thoroughly)
- after base coat has dried take small pieces of tape and cut in half
- take two pieces of cut tape and cover your nail with tape (one on the top 1/2 of nail & one of the bottom 1/2) leaving a small space in-between two pieces of tape
- gently rub the tape so that there isn't any bubbles
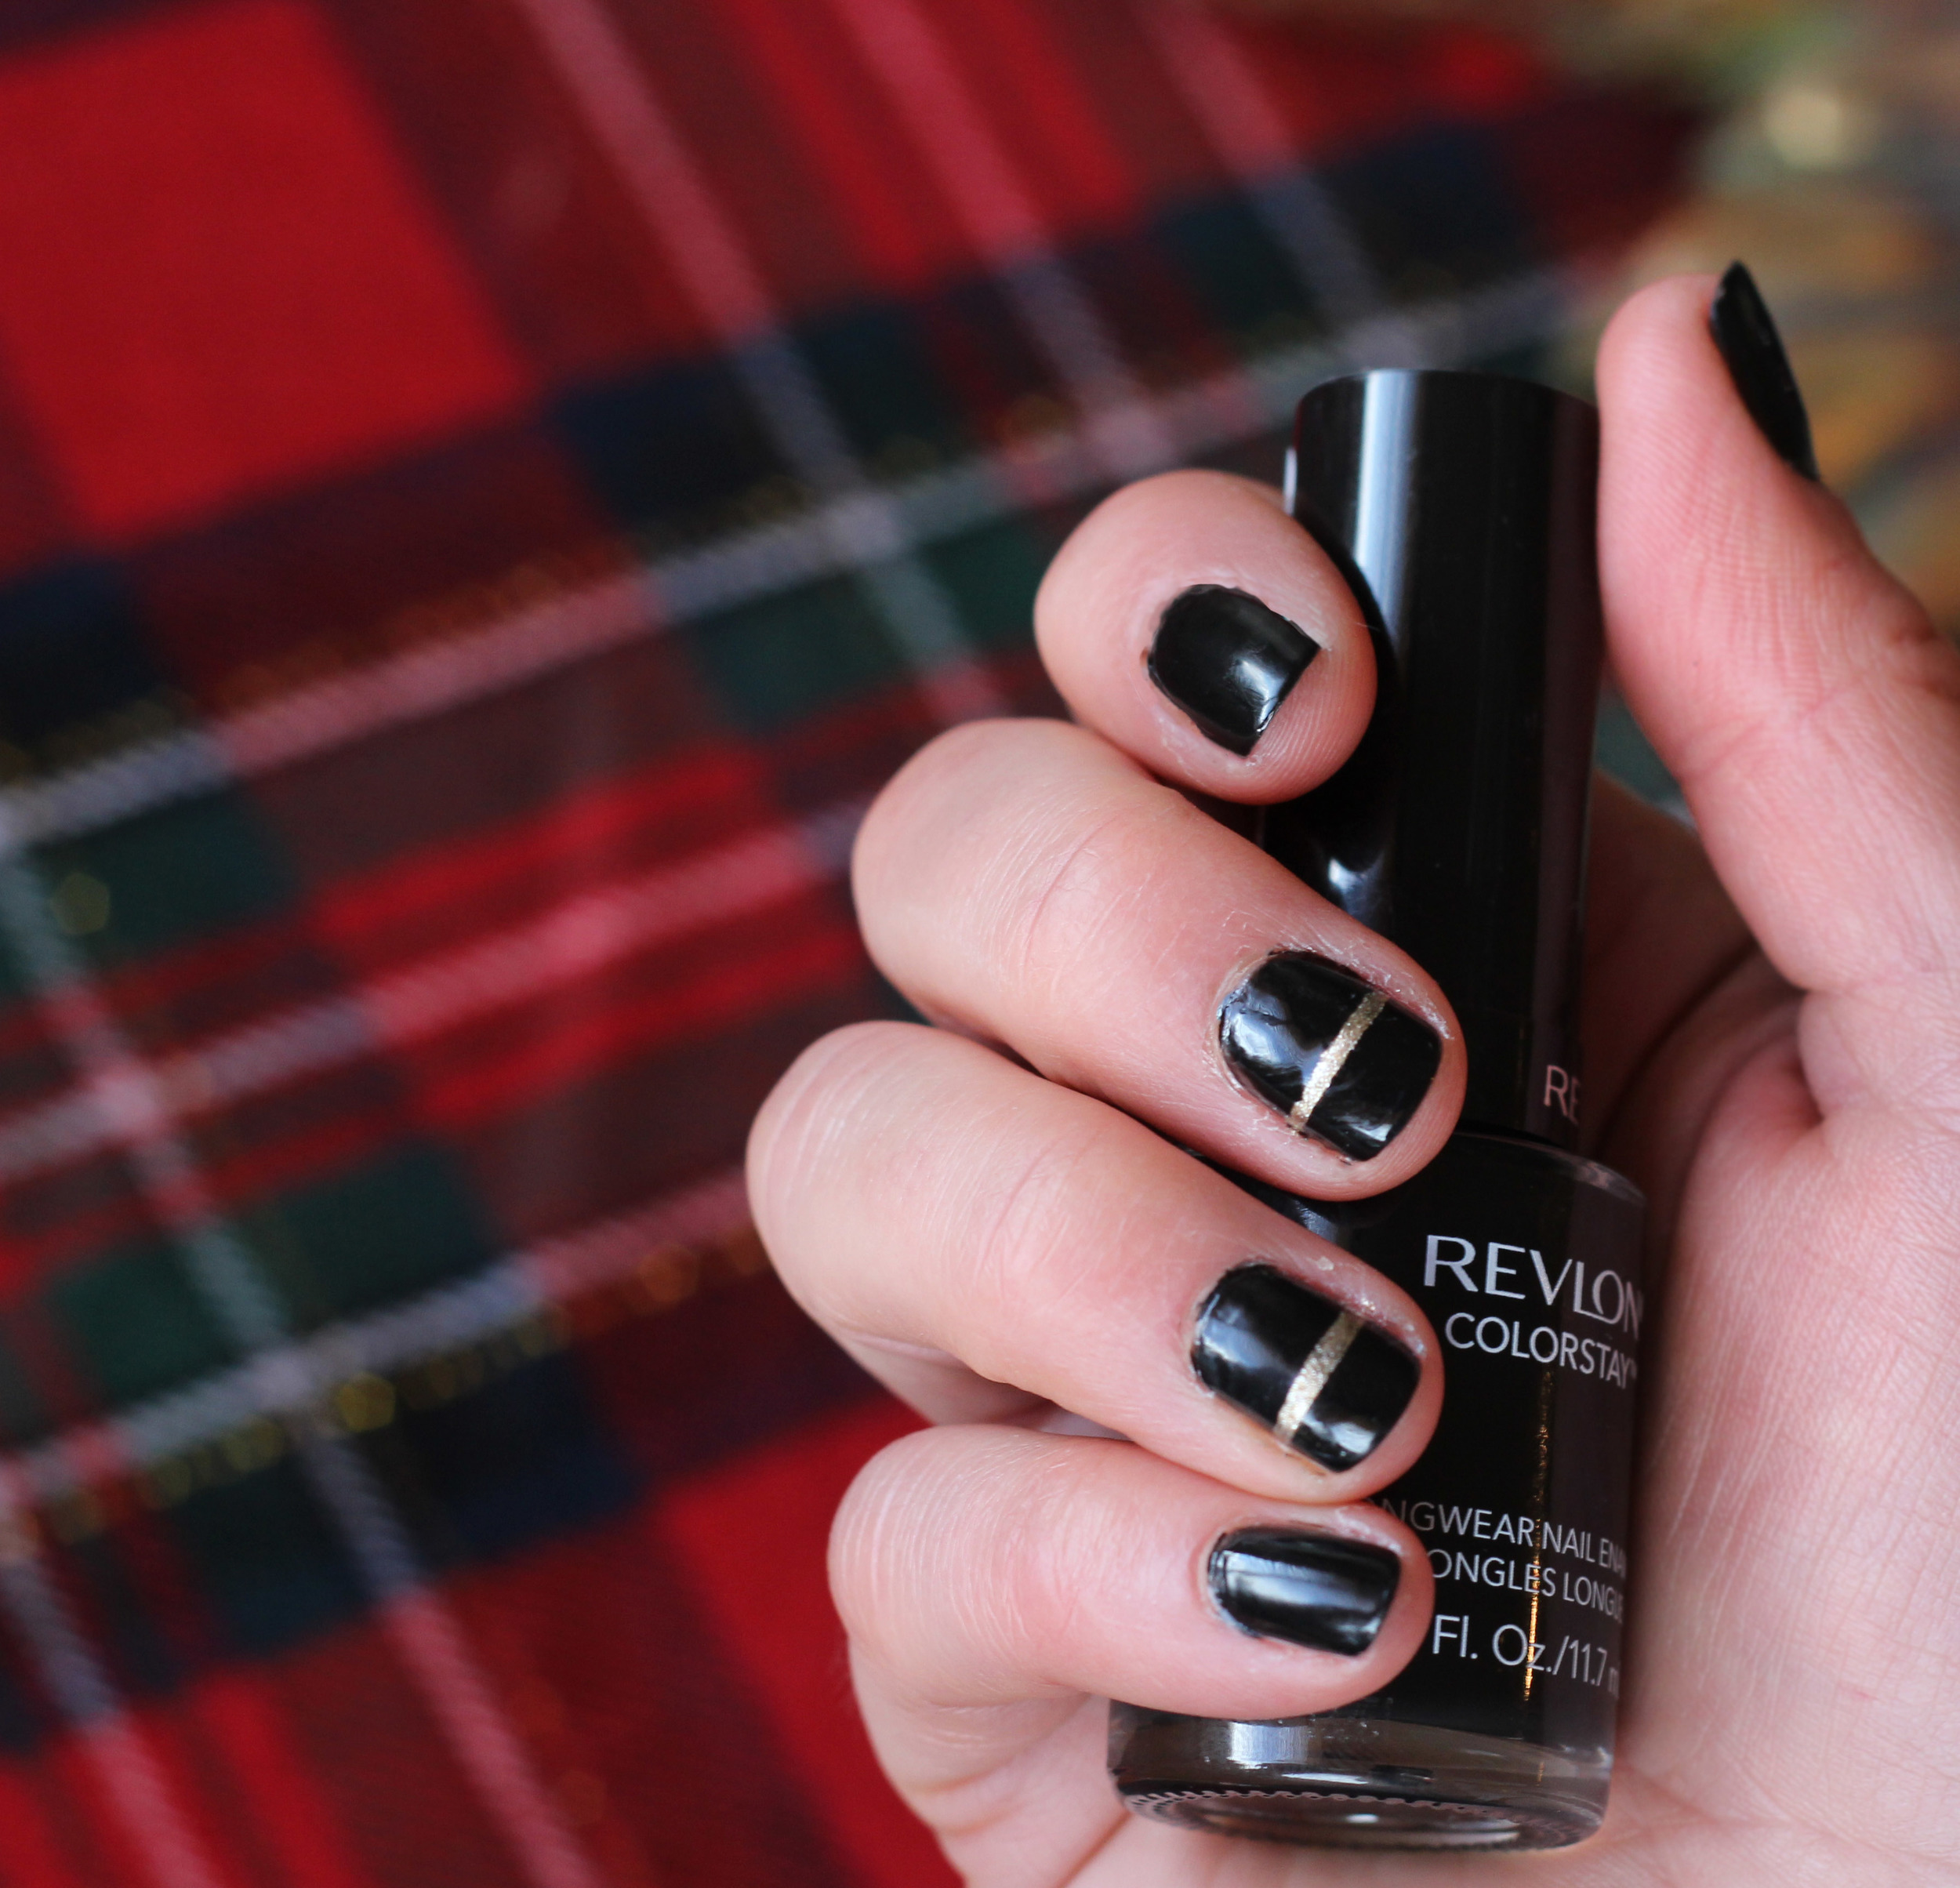
- apply your accent nail polish color to the open space between your tape strips (this is what is creating the stripe)
- gently remove the tape (this can be done right after you have applied your accent color, no need to wait for it to dry)
- once dry apply a clear coat to protect your nails and maintain your nail art for longer
Ta Da, there you have yourself some easy festive nails. Hope you all have a great Christmas Eve!