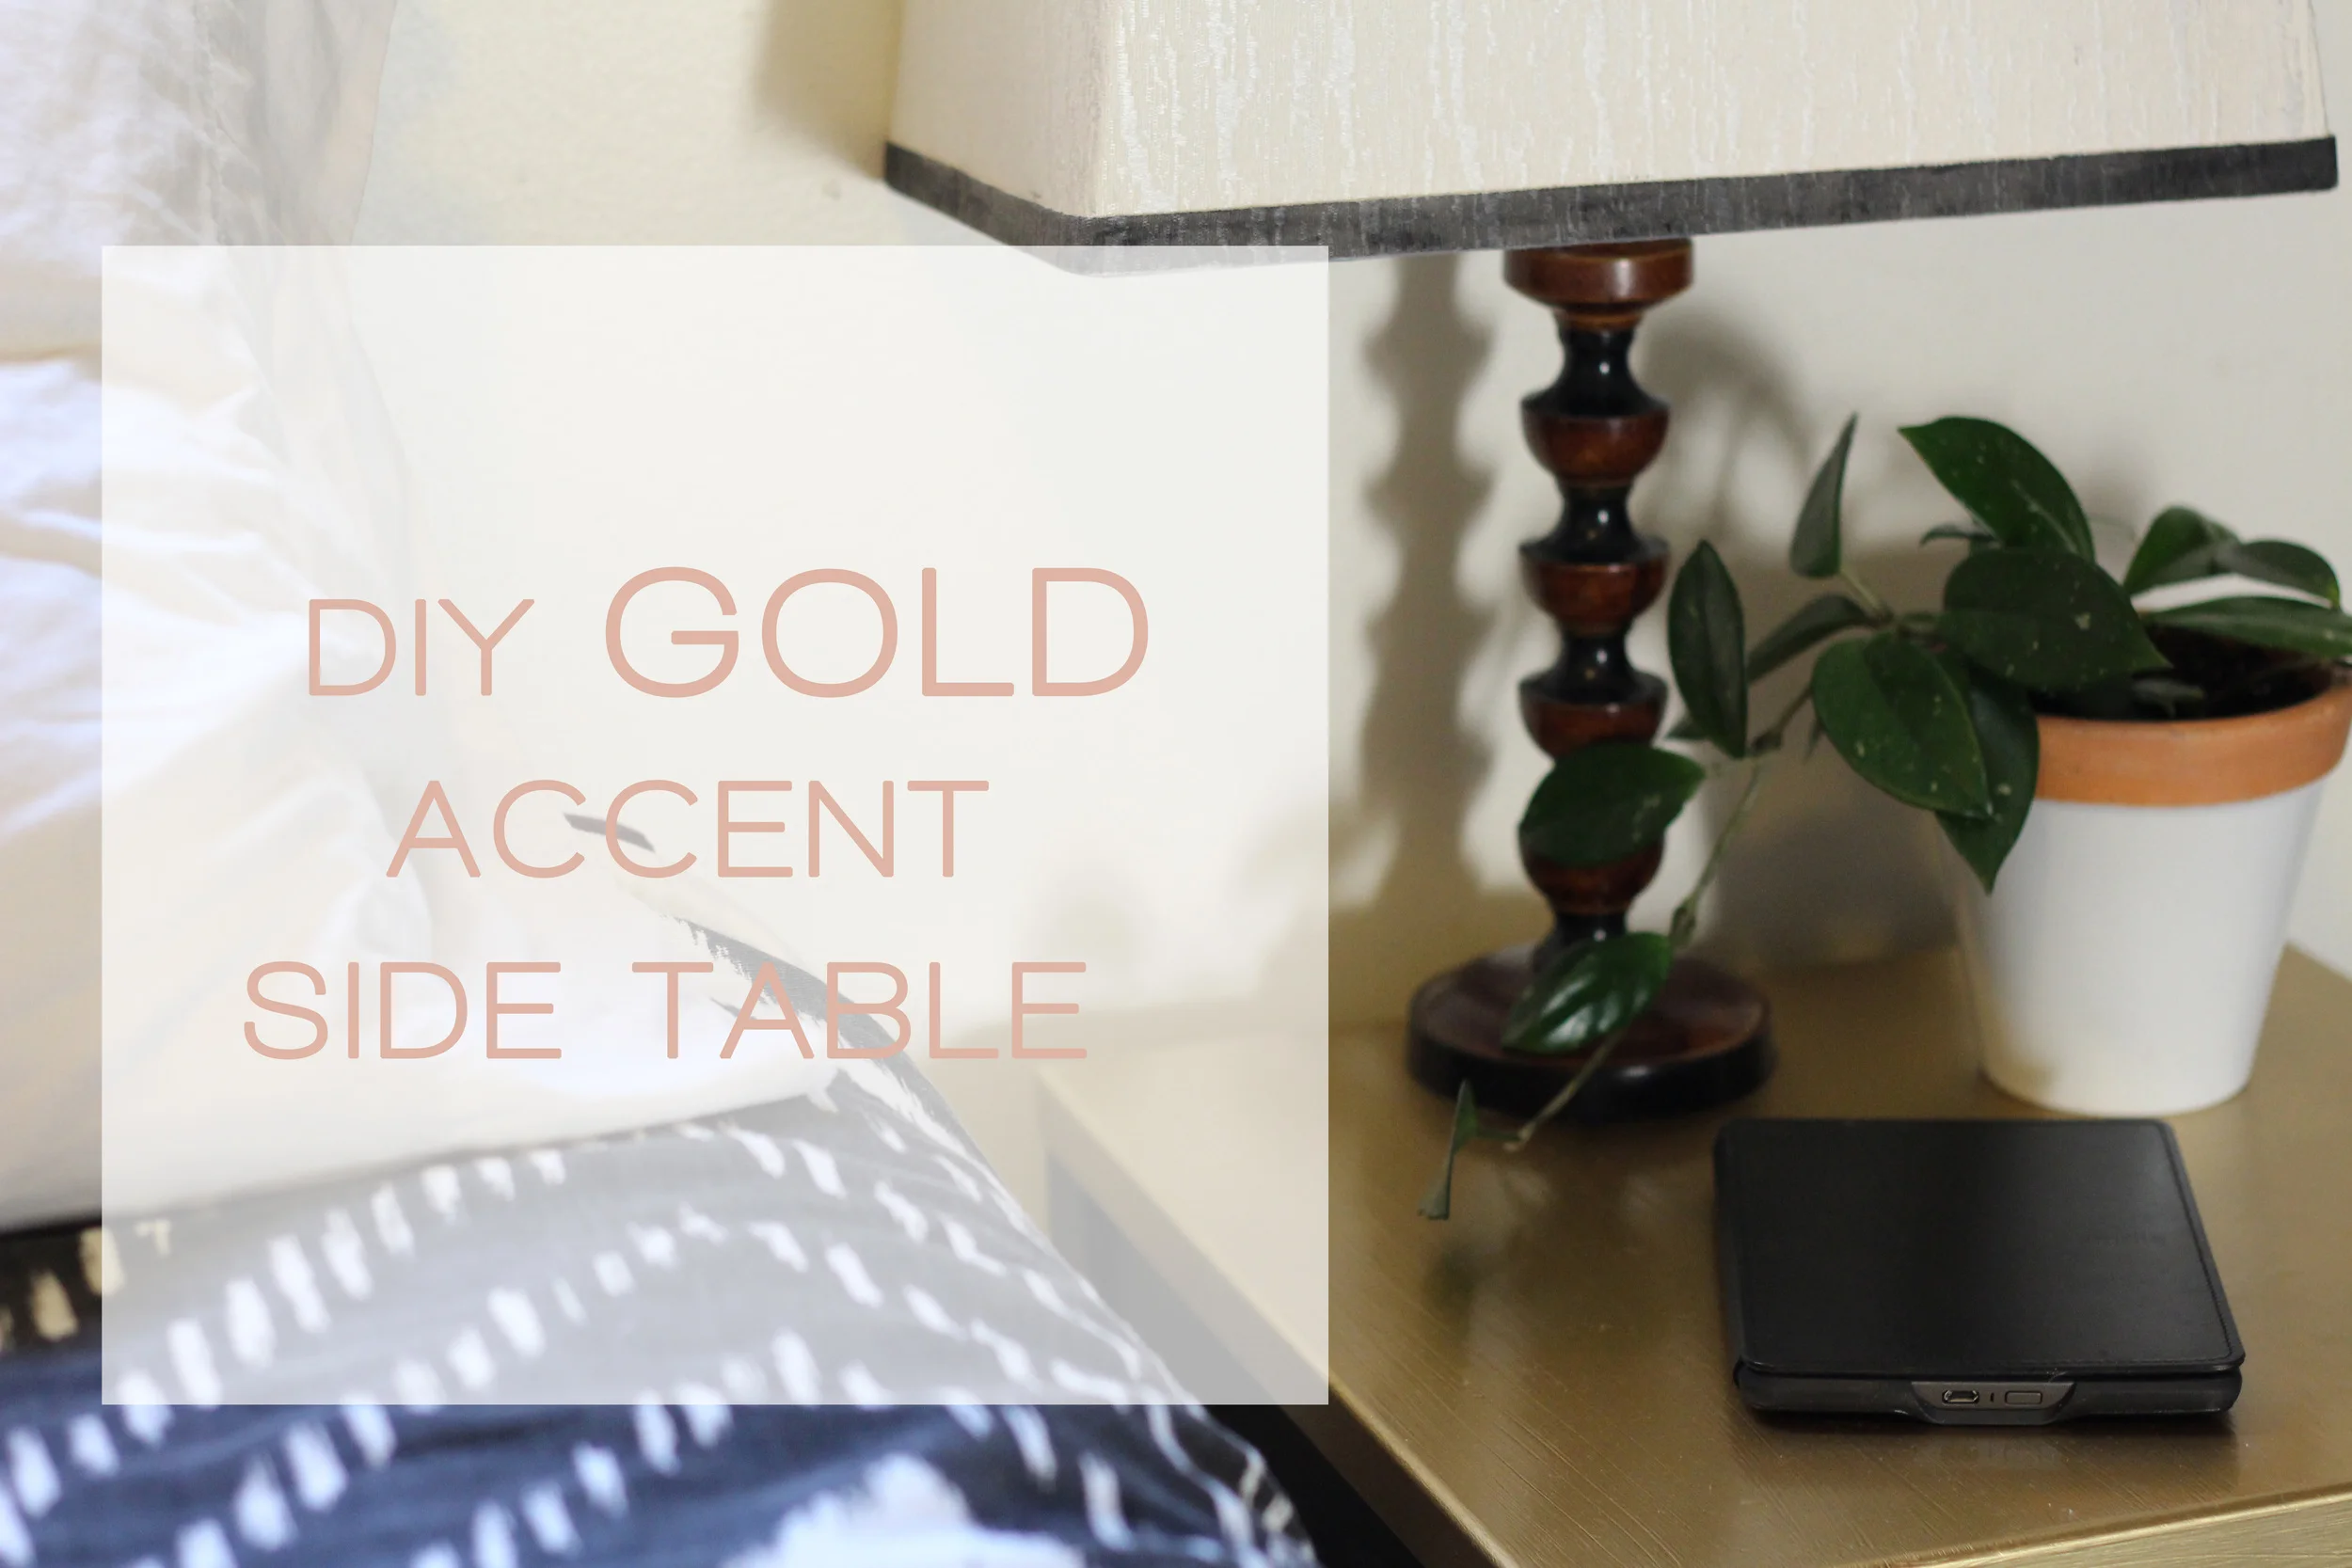
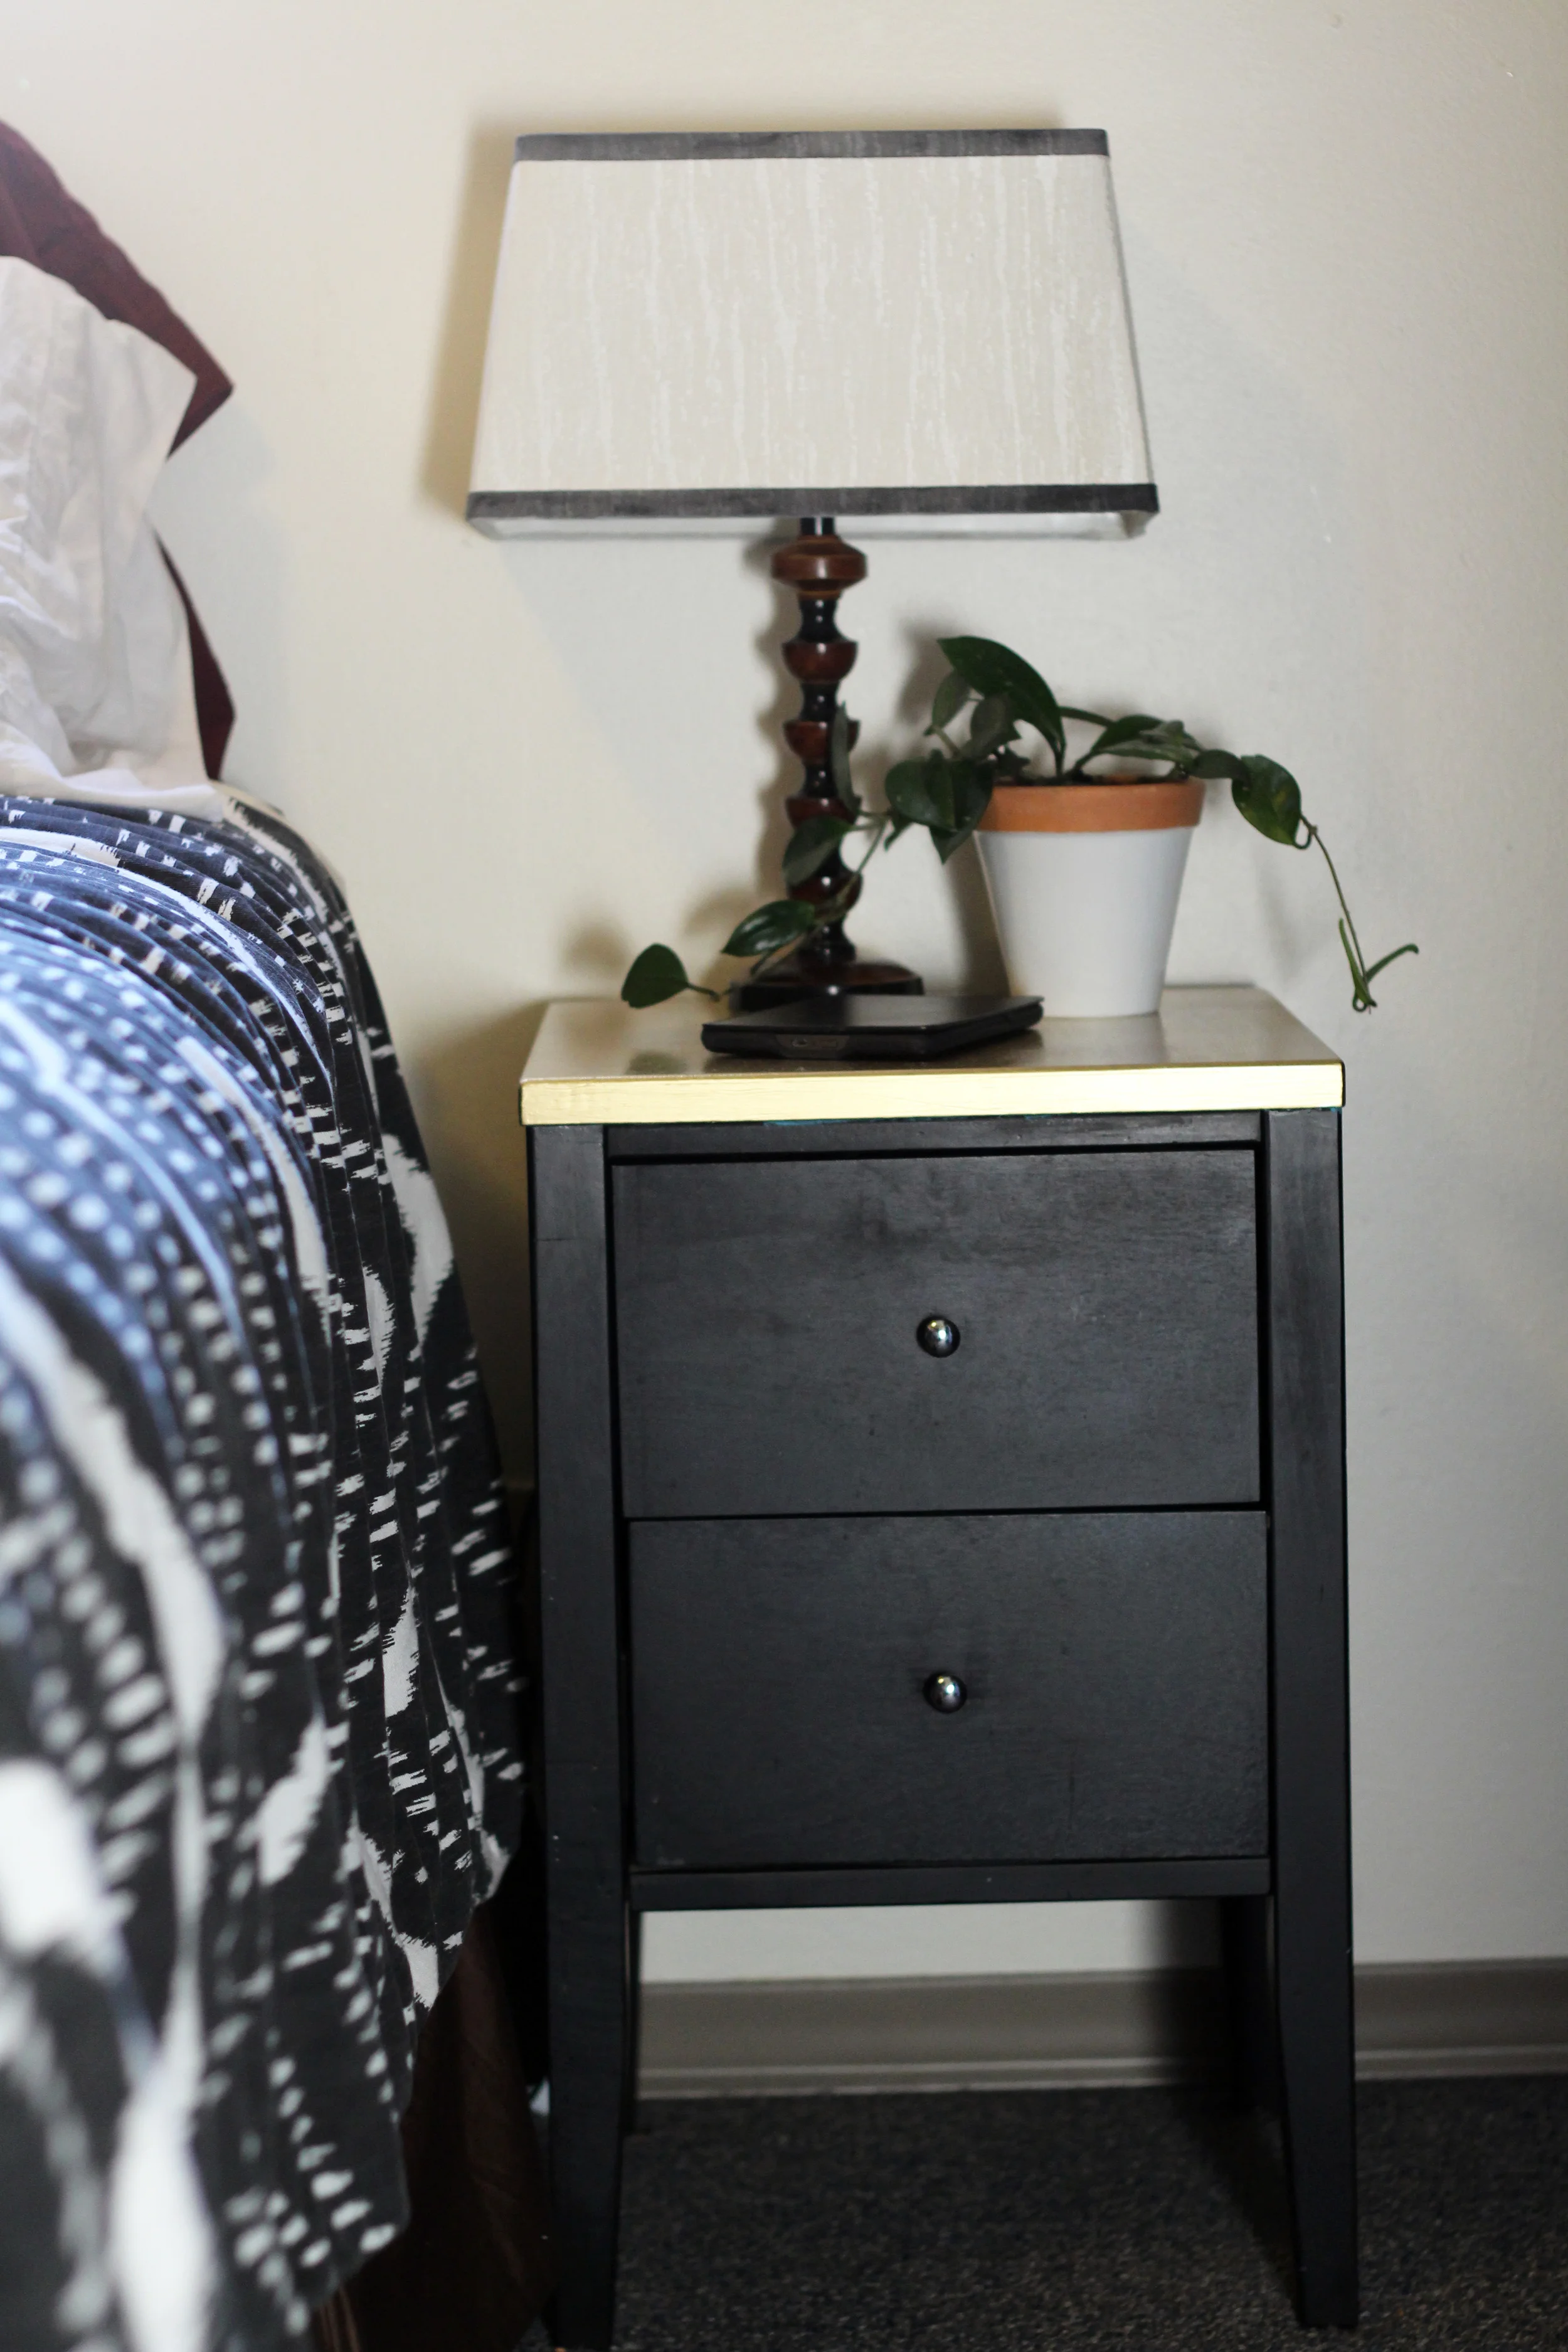
A BIT OF GOLD | DIY SIDE TABLE
I love a good project and sometimes that little project comes out of a can of gold spray paint and a worn bedside table. I have had these side tables since we got married and they have been showing some wear and tear on the top. Maybe it was the weather or me feeling like I needed some "grown-up" furniture but I knew that these tables needed some gold in their life. (yes sometimes I think that my furniture has opinions on what they should look like haha)
For me Gold is the perfect Fall color, just the right bit of warmth and mix of holiday sparkle. And something about gold makes me feel a little more sophisticated and grown up when it's done in the right way. So you will have to be the judge... did I do it the right way?
For this project you need:
1. A can of
spray paint
2. Fine grit sandpaper
3. Finishing Polyurethane spray to protect your surface.
4. Painters tape
5. A little patience

You want to begin by roughing up your surface with your sand paper, then wipe clean and allow to dry. While your surface is drying use your painters tape to tape off the boarder of what you don't want to become gold. ( I taped just below what you see gold and then tacked on some paper to protect the rest of the surface which was originally black. ) After you have prepped your surface make sure you are in a well ventilated area (I was outside) and follow the instructions on your paint can. Do 2-3 light coats of your gold until your surface is completely covered. Allow to dry. Then finish with your Poly spray. This step is optional but I highly recommend it to protect your surface. Allow to completely dry, then bring inside and put your new piece to use! I absolutely LOVE the way these turned out and it makes my bedroom feel a little more put together. Marcus thought I was crazy at first when I said "Gold" but I think he likes them now :)