bookcase: before & after
This weekend I tackled a long time nagging project... my bookcase.
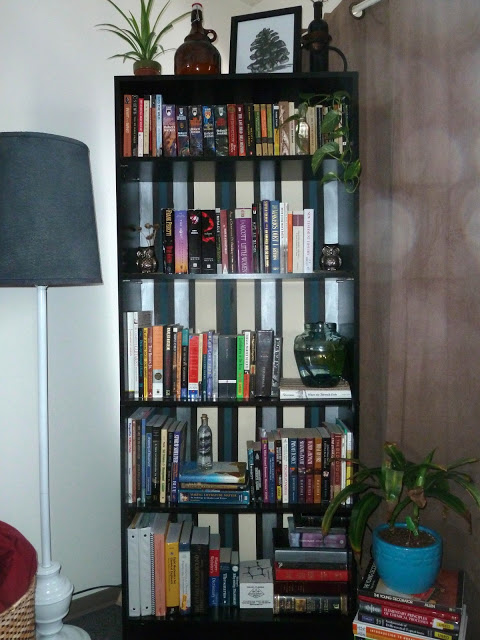
This bookcase was a quick purchase when we first got married and its followed us
from one house to another. It is a cheap bookcase that you could find at Walmart or Target, but this one I found at a used furniture store so the backing was already pretty worn.
So I decided to change the background of the bookcases with supplies I already had on hand. I debated on creating a stencil to create a pattern or freehand a design. However, I finally settled on a quick striped pattern. This project only took a total of 2 hours to complete, not bad for a weekend project.
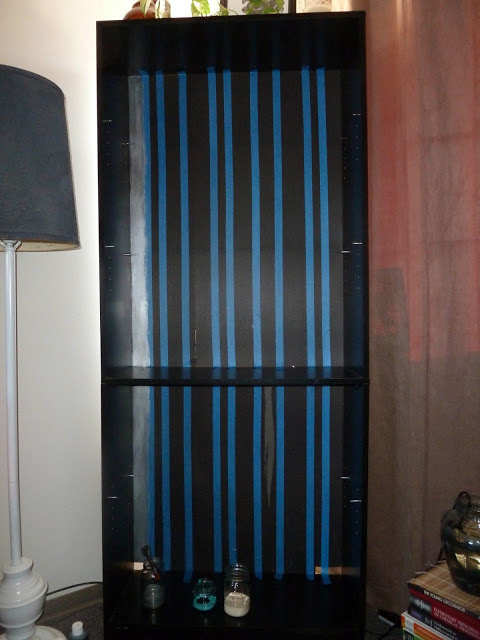
First: take out all all of the removable shelves and use a ruler and pencil to mark the width of the stripes. I worked my way left to right when deciding my widths. I wanted to have multiple width stripes while keeping in mind that wherever my painters tape went there was going be a stripe the color of the original background.
Second: pick the colors you are going to use. I used simple craft paint that I already had on hand. I chose a metallic silver, cream and a turquoise that I added a touch of black to create a darker hue. Then create your pattern and start applying your paint. If it helps, apply the colors in the pattern you think you would like to a piece of paper or cardboard to help visualise the end result.
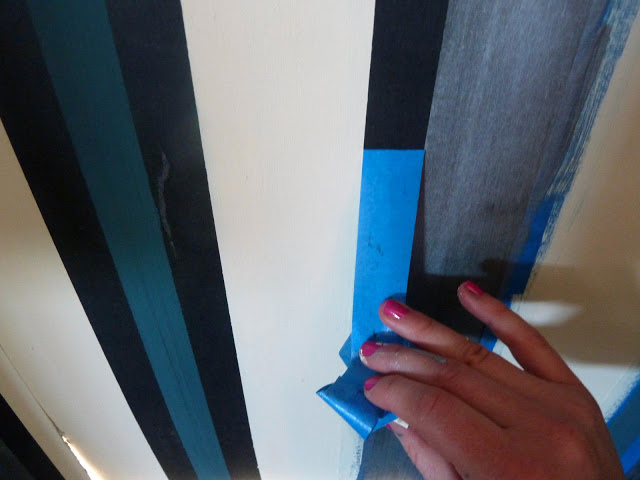
Third: once the paint has been applied begin slowly pulling off the painters tape. It is easier to have a clean line when the tape is removed before the paint has fully dried.
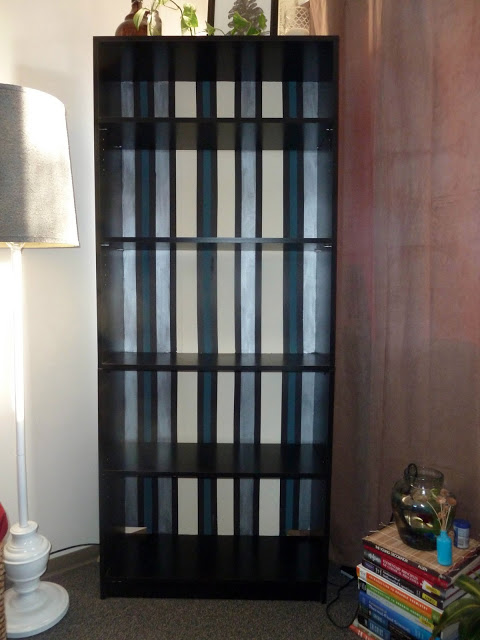
Fourth: allow paint to dry and then add the shelves,
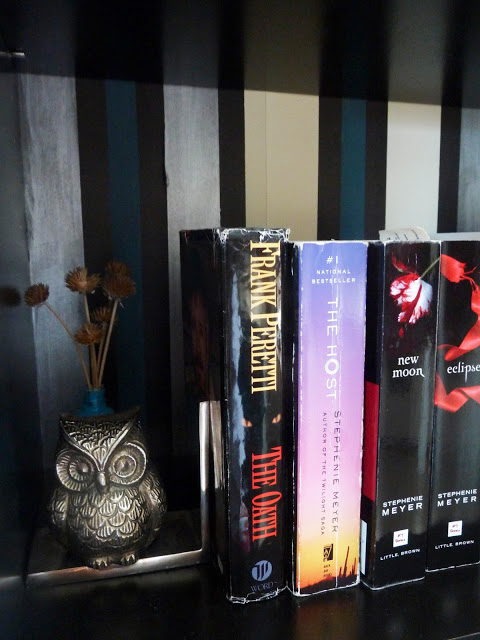
then step back and enjoy your cute new bookcase!
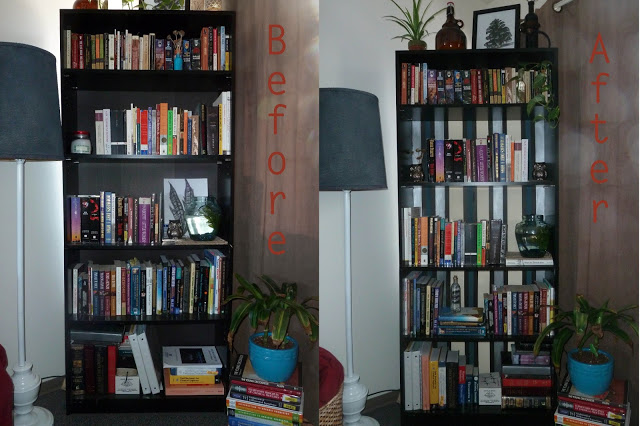
After