
LETS GET ARTSY | DIY NURSERY PAINTING

Over the holidays we got to travel back to Washington to spend some time with my family. Hanging out with family is always special to me because I don't get to spend a lot of time with them over the year, but this year it was extra special because my sister is having her first baby!!! While I was there we began tackling the project of turning a spare room into a nursery and I can say it was one of my favorite times! Maybe with recently graduating with and interior design degree and moving into a temporary home made me a little antsy to do something interiorly creative again.

My sister and brother-in-law knew exactly what they wanted to do to their nursery and since they are aren't finding out the sex of their baby its all one big fun surprise :) they were wanting to go a more neutral route which I was a HUGE fan of. We repainted the walls and they asked me to do a little feature wall that would have some floor to ceiling painted birch trees.
This task may seem overwhelming to you and there are plenty of wall decals out there that you could purchase but if you're feeling brave you should try your hand at painting something.... its really not too hard I promise :)

STEPS:
- You want to start by doing a rough sketch of your trees on paper so that you have a general idea of where you would your tree placement. (remember its just paper so play around with different ideas)
- Once you have an idea of where you want your trees, take a pencil and lightly sketch out your trees on the wall. Don't worry if its not perfect because after the paint has dried you can take an eraser or magic eraser to the wall and it will clean up any stray pencil lines.
- Next start with your base color and a small brush brush and begin filling in your trees (we added some white to create the texture of the birch tree, but if you want to keep it simple and only use one color just skip my final step). Always start with the outside and work your way into the middle of your tree while you paint. This will create a smooth edge. Also don't apply too much paint as it will drip as it dries and no one wants that. Just do a second coat after the first has dried.
- After you apply your second coat (if needed) let your paint completely dry. Once you second coat is set take a sponge brush ( as seen here) and lightly dip it into your white paint. Take you brush and gently apply a few small horizontal lines to your tree, this will give it the character of a birch tree.
- Once everything has dried take your eraser and gently clean up any stray pencil lines that might be left.

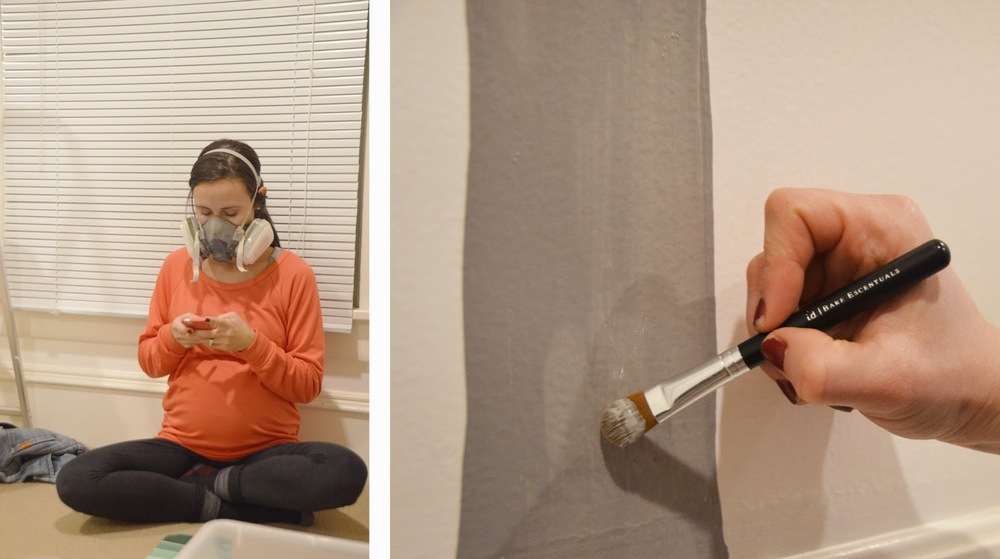
Getting to do this project with family was the best! I will always remember how I came unprepared and had to paint with an old Bare Minerals concealer brush. How my amazing preggo sister wanted to be apart of the whole process so we had to put a ridiculous mask on her and she sounded like Darth Vader the whole time. How I tried and failed at attacking my brother-in-law with paint. But mostly how special a time this is for our family. My first niece or nephew, first grand-baby and it's only the beginning of a lot of firsts that I cant wait to be a part of.

FINAL LOOK
Hand painted birch trees - Hanson Nursery
