
Window Sill Herb Garden
Today is the beginning of Spring and you know I am excited! I have been itching for the weather to warm up so I could get my hands into the dirt. I've been dreaming of having a window sill herb garden for quite sometime now, but for some reason I couldn't decide what sort of design I wanted.
Then this past weekend, the sun was shining and I decided to tackle this project with items I already had around the house. Sometimes the best projects are the simple ones. All I had to do was run to the store and grab some of my favorite herbs and some spray paint. The best part about this entire project is that you can start and finish it in an afternoon and I only spent $22 for everything!!


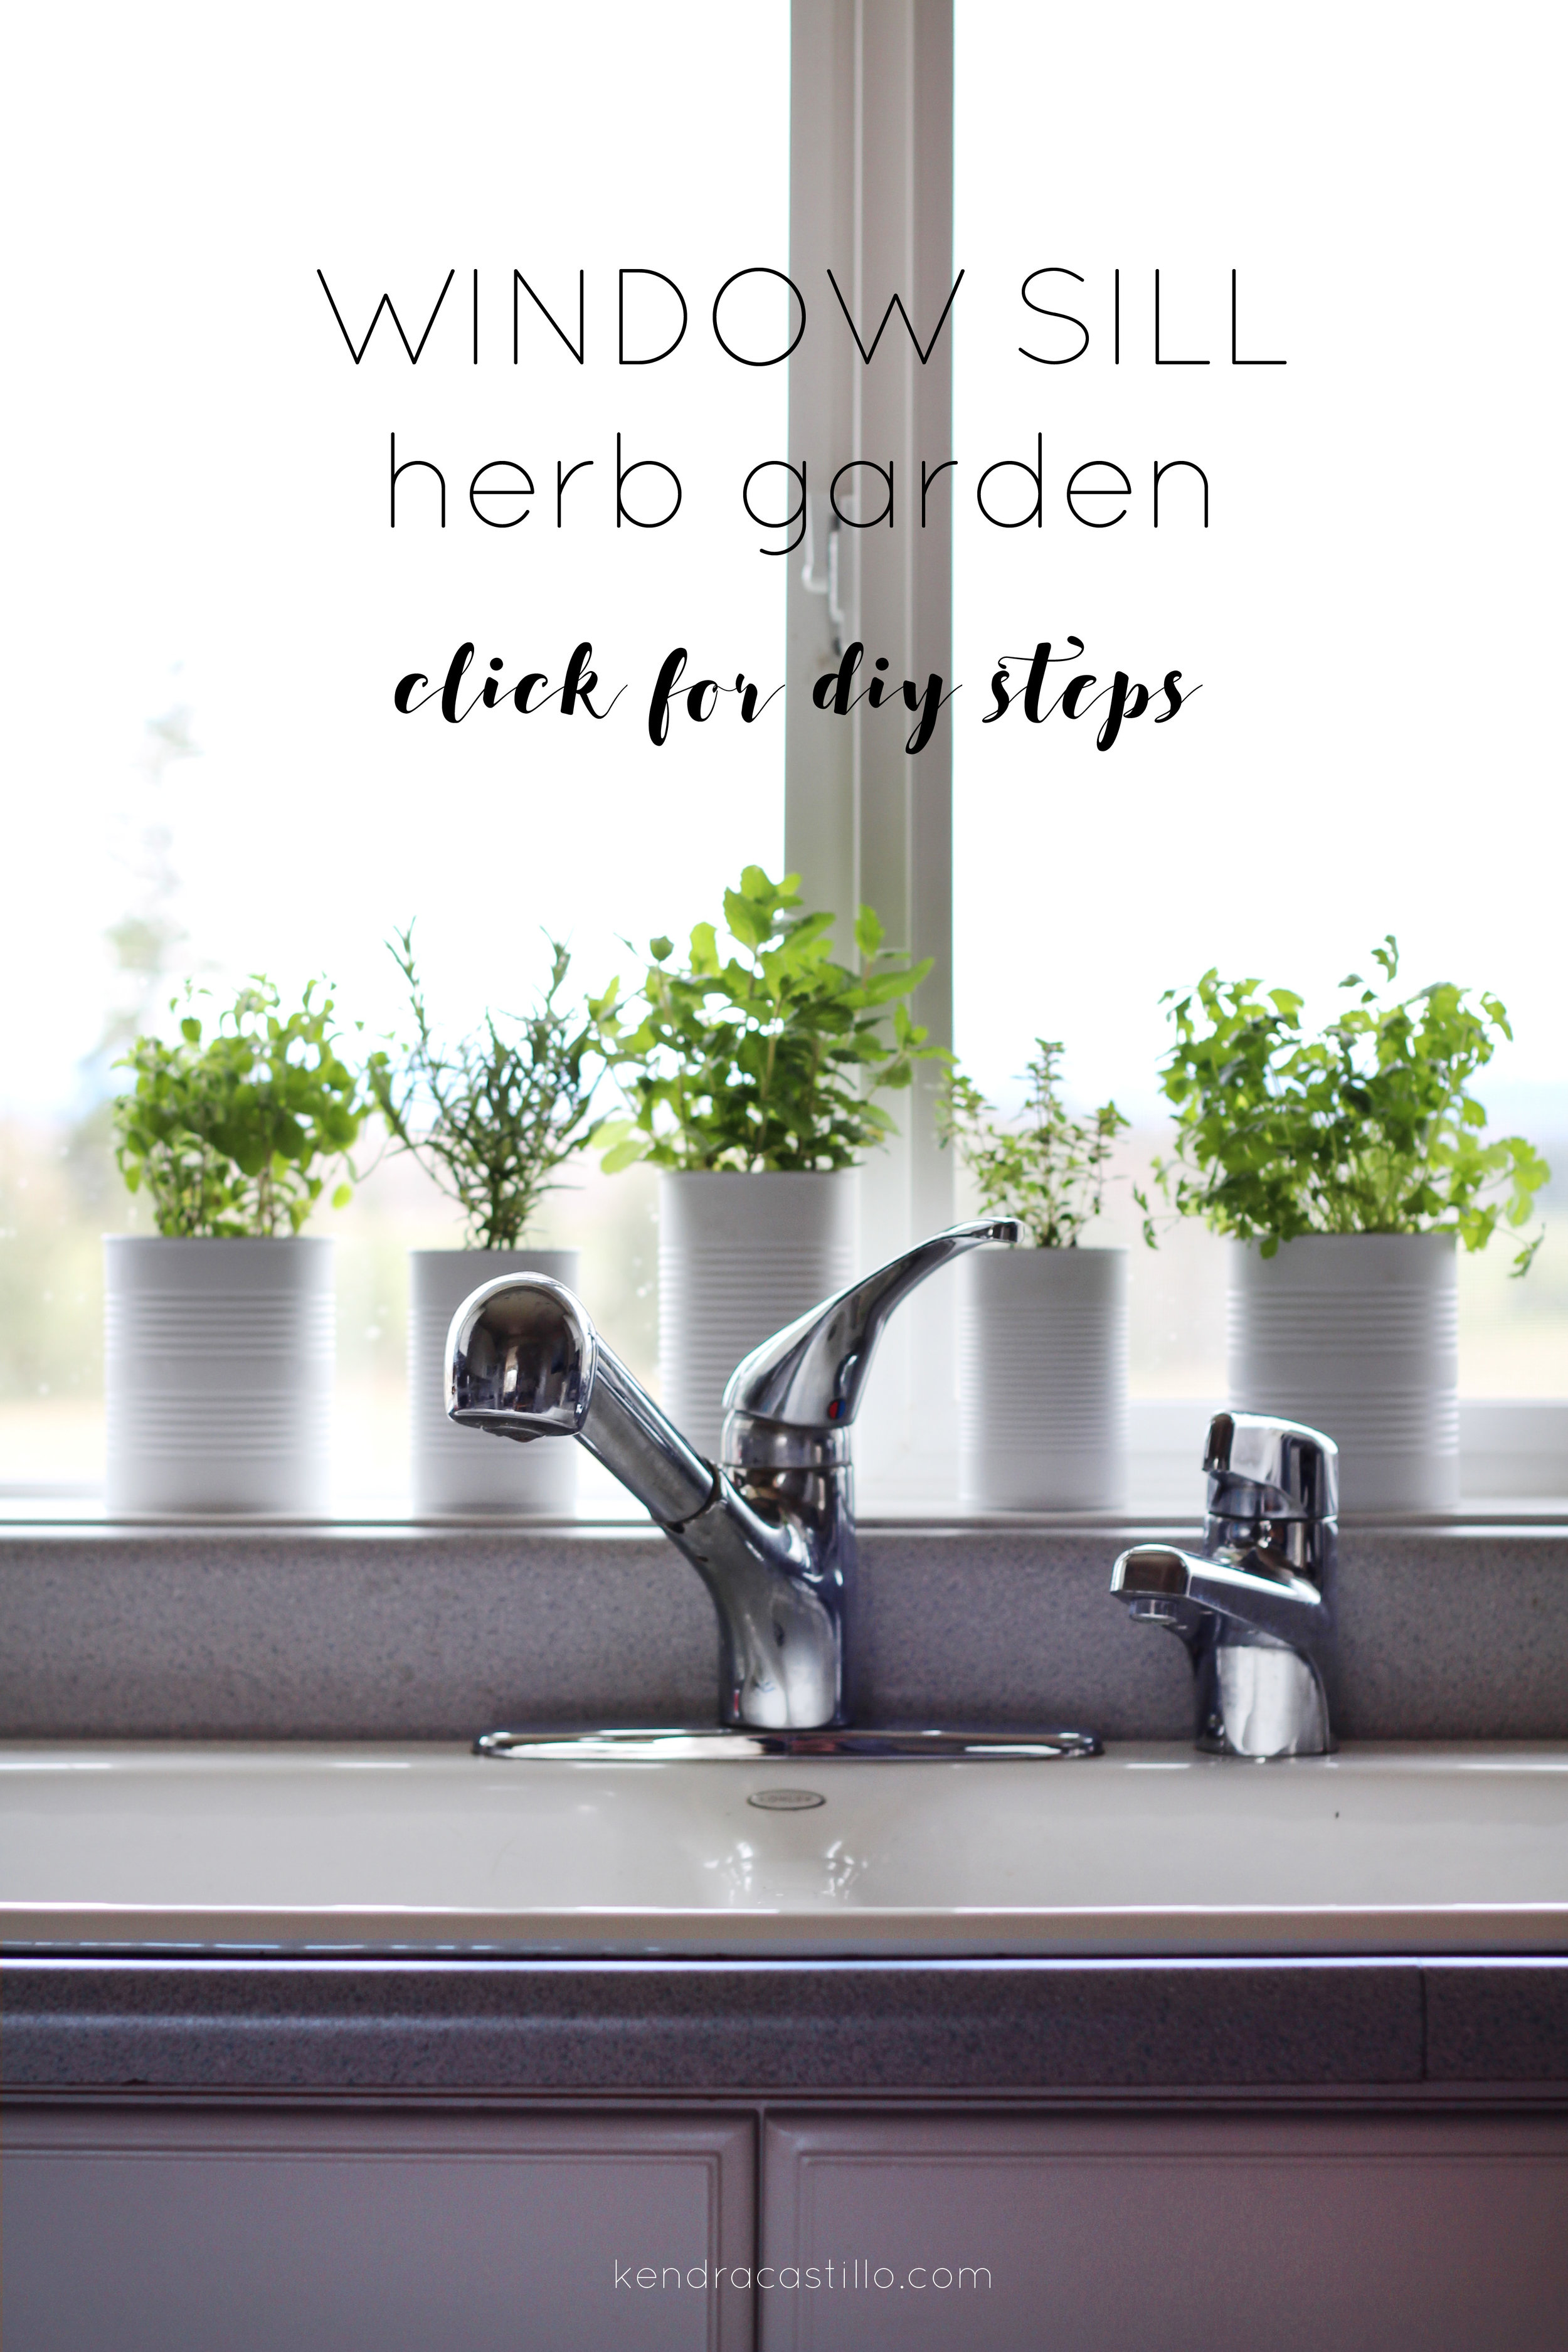
After going back and forth trying to decide what sort of planter box I wanted to use, I surprisingly ended up using some tin cans that I had laying around waiting for recycling day. I knew I wanted a clean, streamline look where the plants were the focus and the pots were just there for soft accents.
I decided to take a chance and rely on my trusty old method that spray paint can fix anything (which I still stand by) and not so surprisingly this little herb garden may be one of my favorite little projects in quite a while.
All you have to do is decide what you want to use as your pots. I decided to use a variety of can sizes to add some visual interest. The large cans came from these tomatoes (which are our favorite for soups & pasta sauces!!)

Then I prepped each can for spray paint. All you have to do is make sure your labels are removed and then roughly scrub each can (I used some steel wool to get any tough spots). Next I used my favorite spray paint!
Then follow the instructions on the spray paint. I did 2-3 light coats to ensure full coverage. One of the things I love about the spray paint I mentioned above, is that it has a really fast dry time!! Which works out great for last minute projects (which are the kind I tend to be doing).
After your paint has dried the fun part begins! Plant time!! I chose 5 of our favorite herbs to use, Rosemary, Tyme, Oregano, Mint and Parsley. I found all of these at our local grocery store for around $2 each. Since my planter cans were fairly small I didn't need to purchase the larger herbs which were a little more expensive so win win for me. I used a garden soil, I'll put a link to a similar one on Amazon below.


As for the potting process,
I poked a small hole (using a nail) in the bottom of each can for a little drainage. However, this step is optional and you can just make sure that you aren't over watering your new little plant babies. After making my small drainage hole, I added a few small rocks and then a fine layer of soil. Then I placed my herbs inside their pots and filled in any empty space with more soil.
After that you can use a rag or old paint brush to dust off any excess soil that has spilled over. Add a little water and place on your window sill! I have been enjoying staring at these beauties everyday and I can't wait to keep watching them grow. They even make washing the dishes more enjoyable!!
Happy Planting and Happy Spring!!